
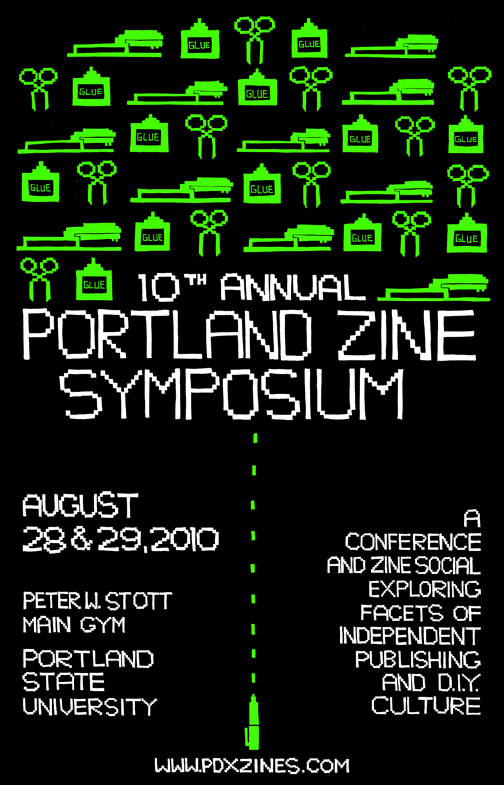
I just paid for and confirmed my table for the 2010 Portland Zine Symposium!
This will be my 8th year in attendance, and 5th year tabling. Wow! It’s crazy to think about.
I first started making zines after taking a zine workshop almost 10 years ago at Girls Rock Camp, and have been reading and making zines ever since. While I enjoy reading zines of all kinds, most of the ones I make are poetry and writing. Especially after studying Book Art at school, I’m really interested in bridging the gap between zines and fine art book making – I like to try and incorporate little details like binding, cut outs, and printing techniques to give my zines a little leg up from plain old quarter page sized, xeroxed and stapled.
As the symposium looms ahead, I’ve decided I want to make AT LEAST one new zine before tabling begins. This was my plan last year, and I was actually able to turn out an exciting new book – and finished binding it AT my table while the crowd rolled in to browse, ha. You can see that book on my Etsy (I will eventually make a more detailed post about it here.) Anyway, as I have been trying to imagine up a new zine to make for this summer, I have been developing this post as well.
Here are a few simple techniques I have seen that are great ways to spice up a zine:
Color! may seem like a no-brainer, but adding a little color to your zines can go a l-o-n-g way. And you don’t have to spend a ton of money on glossy ink prints… You can xerox your covers onto recycled colored construction paper, or add inserts or have one or two pages with color images. It really makes you stand out!
Special paper! An easy way to make your zine noticeable is to use different kinds of papers rather than generic white printer paper.You can make your whole book in textured, printed, or otherwise noticeable paper, or you can just accentuate the cover or one page with it. A realllllly cheap and easy way of doing this is adding a see through paper, usually vellum or some sort of tissue, as the second page (after the cover) of your zine. When the reader opens the cover, they see the title page of the zine, but through a sheen of another paper. Very tangible and appealing! almost like a fog, setting a mood…
Size! Another vastly simple but huge factor in zine making. The classic sizes are half sheet, and quarter sheet. I tend to make things small, so I often go for a size that is inbetween these two. Even just using 8.5″ x 11″ paper, there are tons more options – fold the sheet in half longways (hotdog), and then tri-fold it widthways (hamburger) so that your end result is a zine that is 4.25″ x 3.33″ (1/6th size). Or, start with 8.5″ x 14″ paper. fold it in half widthways, for a larger zine, or fold it in half and then tri fold the same as the way I just mentioned – end result is 4.25″ x 4.33″. You can also fold paper in half length or width wise, but then just trim off a few inches of the other size, rather then folding it exactly in half the opposite way. Experiment! I always make models of my books, even if just for a visual reference for size and how things will be perceived. Because it changes so much!
Binding! You can bind your zine with almost anything – don’t let yourself be limited to staples. And you really don’t need any kind of fancy book binding techniques, although those are often impressive to the average zine reader. I’ve seen books bound with everything from wire, rubber bands, fishing line, ribbon, intricately cut straws that stick through tabs, brads, yarn, magnets, even weird stuff, like hair. (Then again, I’ve seen a book made out of underwear and used sanitary napkins, so pretty much nothing shocks me. And no, I don’t really want to talk about the Period Book 😦 ) Sure some of these were higher end book art projects, but I’m a huge advocate of figuring out how elements of “fine art” can be adapted for simpler, easier to mass produce projects. Some typical-yet-not-stapled bindings I have seen used in zines are the french door binding, japanese stab binding, comb binding, heat binding, and good old fashioned pamphlet stitch.
Content! Duh! Make your zine about something interesting, so that people will want to read it. Here’s one thing I have really noticed about the zine symposium, and any other place you peddle your handmade books – if it looks intriguing on the outside, people will pick it up, but they will usually only flip through for a few seconds before putting it back down again. Especially in today’s economy, where we are spending less and less money on impulse buys and non-necessities, it’s very hard to market your things if they aren’t eye catching. With that being said, there is no surefire way to make everyone love what you do – you will always have a target audience and certain people will and won’t be attracted to what you zine about. However, there are ways to spice up your content. Above all, images are most important. If you write a zine about recipes, intersperse some pics of your concoctions with ideas about how they should be presented. If you write poetry, develop certain themes throughout your zines and include personal artwork or photography that relate to your themes. If you write zines about your adventures in a wacky job, foreign travels, funny stories about your pet, your interesting fashion sense… by all means, go crazy with visuals! Not only are they an easy way to ensure that your reader gets the right image from your writing, but they help to split up larger blocks of text that most people would otherwise be less likely to read. You can see this technique in….. about every blog post I make, ha!
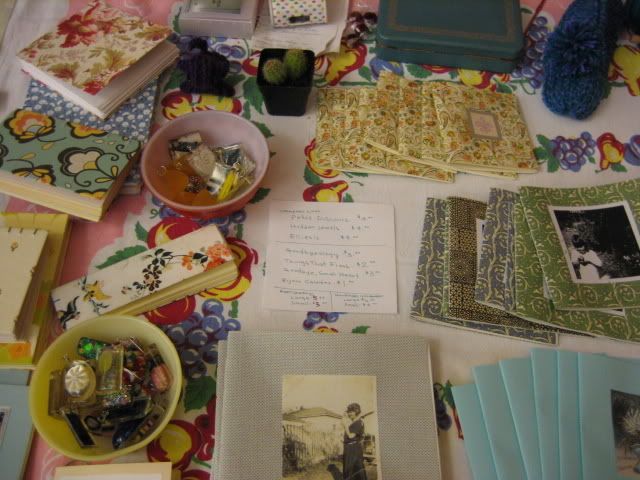
 here’s a pic from my table a few years ago. Check out my ‘About Me’ page for another pic!
As the dates get closer, I’ll make a few most posts, in case any readers who are in town stumble across the post. And of course, you will see pictures and accounts after the weekend, which is sure to be an absolute blast as usual.

 I sat next to this really great doorway arch of bamboo and paper cranes!


 Here’s the view from my side of things.


